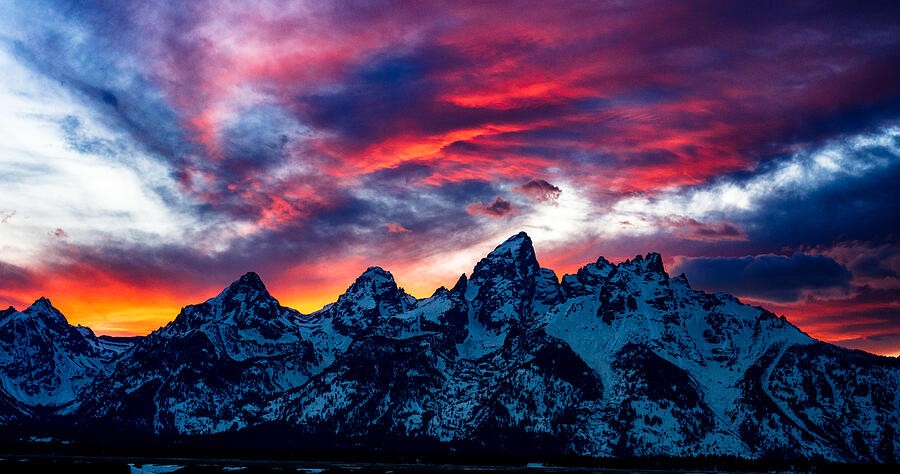
Reading landscape light: from deep shade to glowing skies
Eight photographs teach you to recognize light direction, manage contrast, and make deliberate exposure and editing choices.
Light is not simply good or bad. Its direction, softness, color, and distribution determine which parts of a landscape become visible and which compete for attention. This lesson uses eight photographs to practice reading those relationships. The exercises describe ways to approach similar scenes; they are not claims about the original camera settings.
1. Find the light before choosing the frame
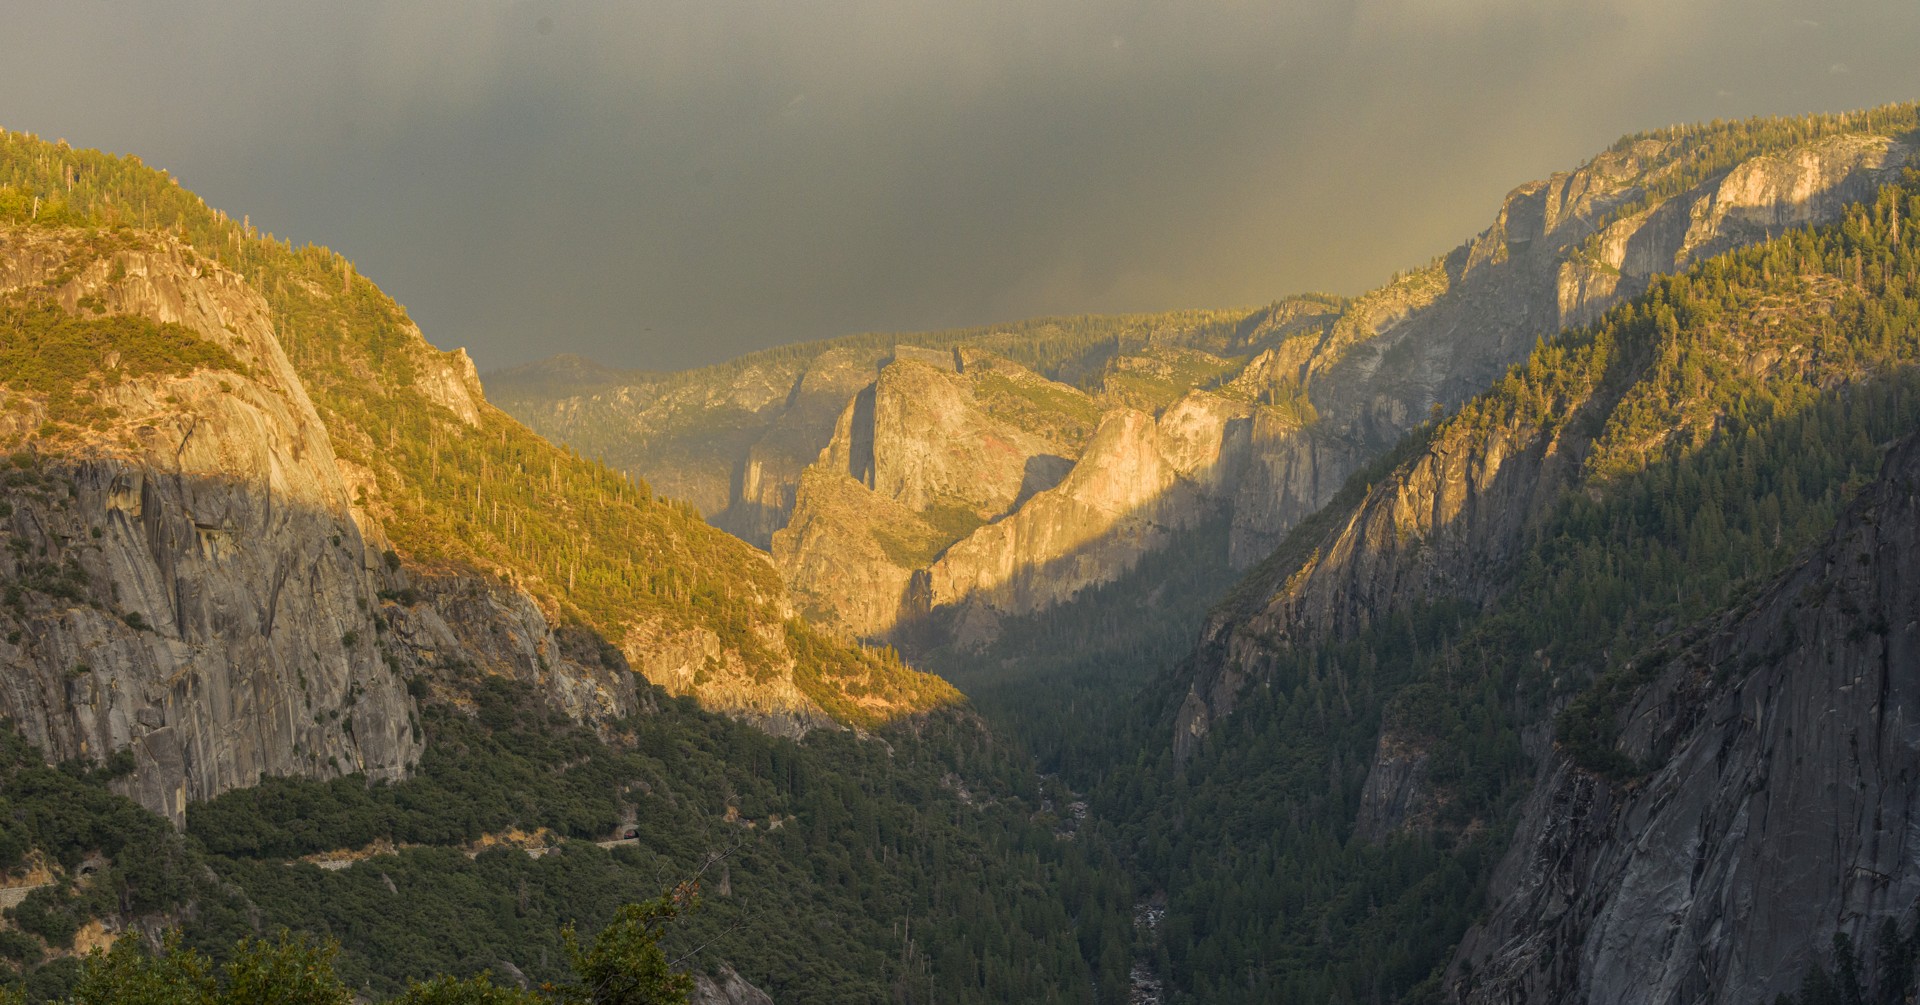
The warm rock stands out because the valley beneath it is darker. Before adjusting a camera, name the brightest meaningful part of the scene and decide whether it should be the subject. Here, a frame filled entirely with illuminated stone would lose the contrast that makes the light noticeable. Keep enough shade to explain the glow. Practice by making one broad composition and one tighter composition from a safe, established viewpoint. Compare which better communicates the light rather than which contains more scenery. If the bright cliff loses texture, reduce exposure and check the actual highlight detail; a brighter screen preview is not proof of a better exposure.
2. Separate atmosphere from underexposure
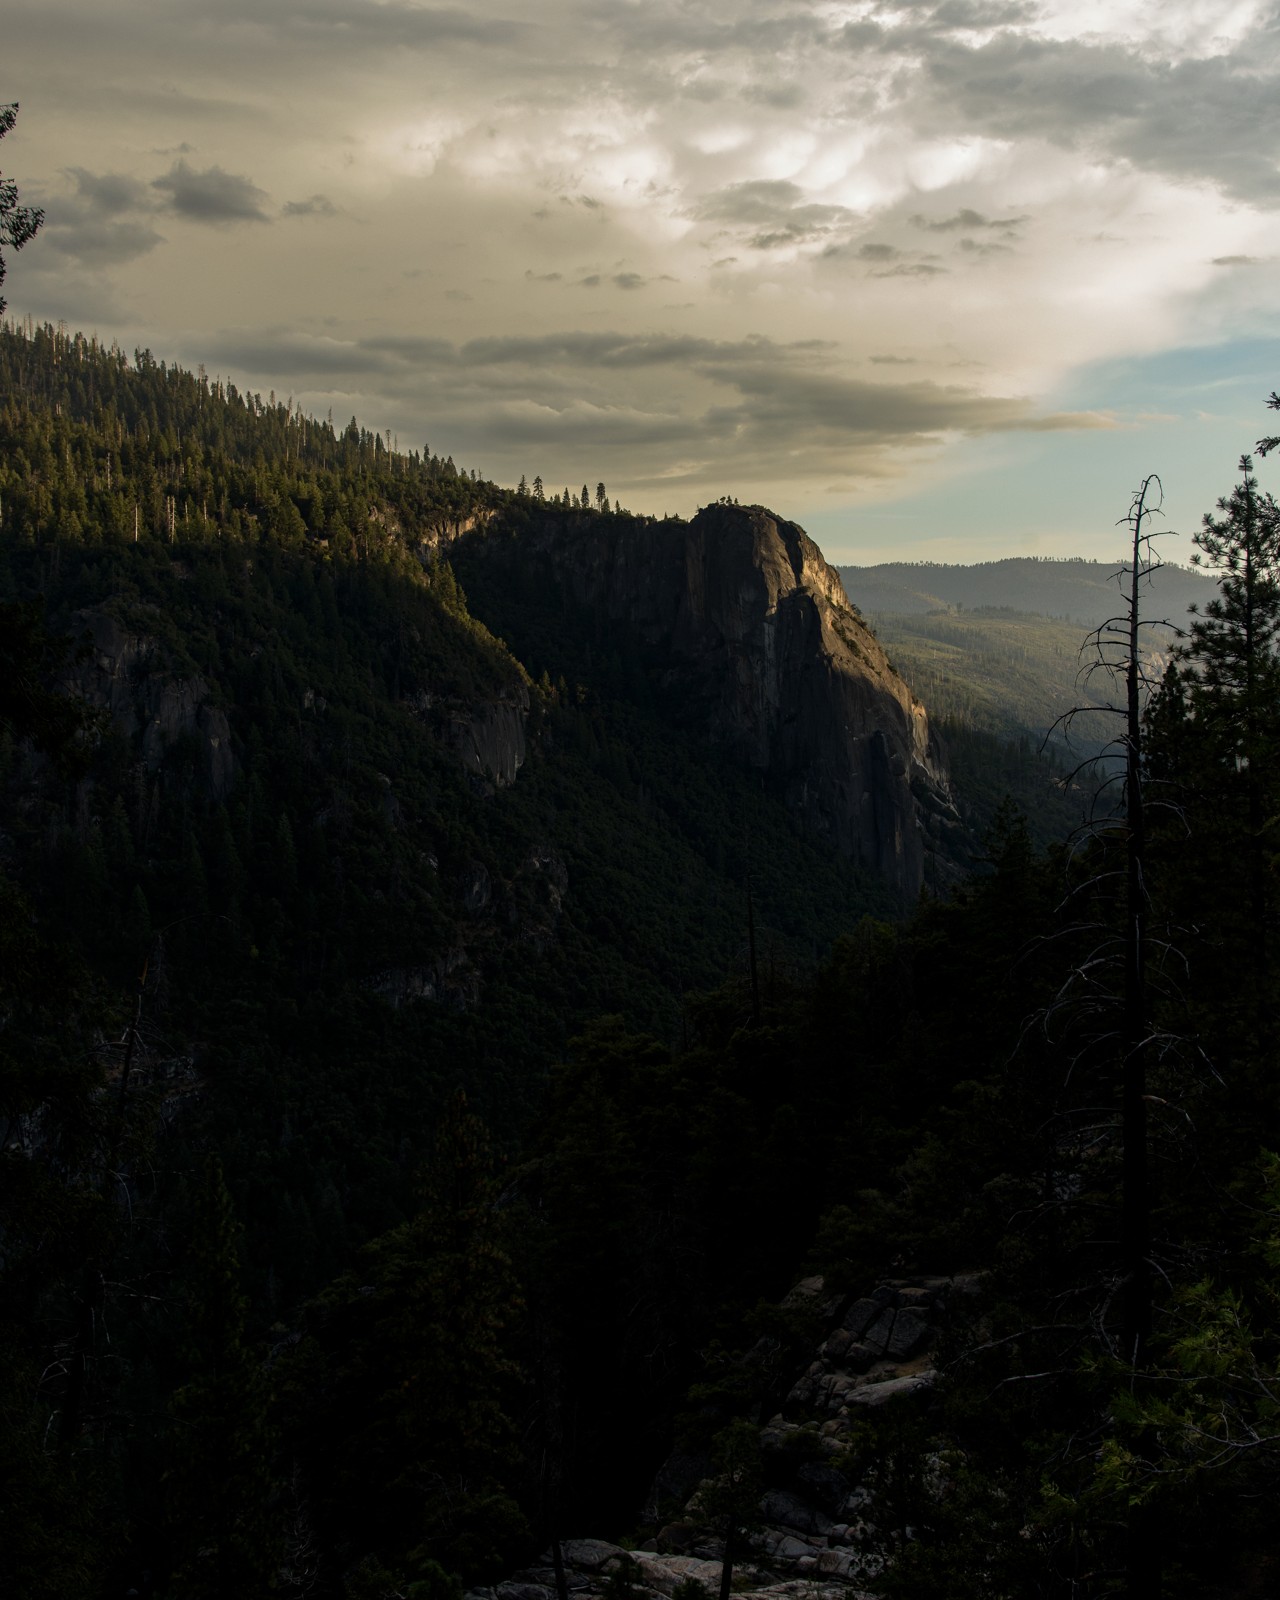
This darker valley view places bright cloud above shadowed terrain. The challenge is deciding how much detail the foreground needs. A shadow can be an intentional shape rather than a problem to eliminate. Review the histogram together with the image: a concentration on the left can be appropriate when most of the scene is genuinely dark. Make a second exposure that preserves more valley information and compare the mood. If a still scene exceeds your camera’s usable range, exposure bracketing can provide options, but moving branches and clouds may complicate merging. Do not brighten every shadow until the photograph stops looking like the light that attracted you.
3. Read the boundary between light and shade
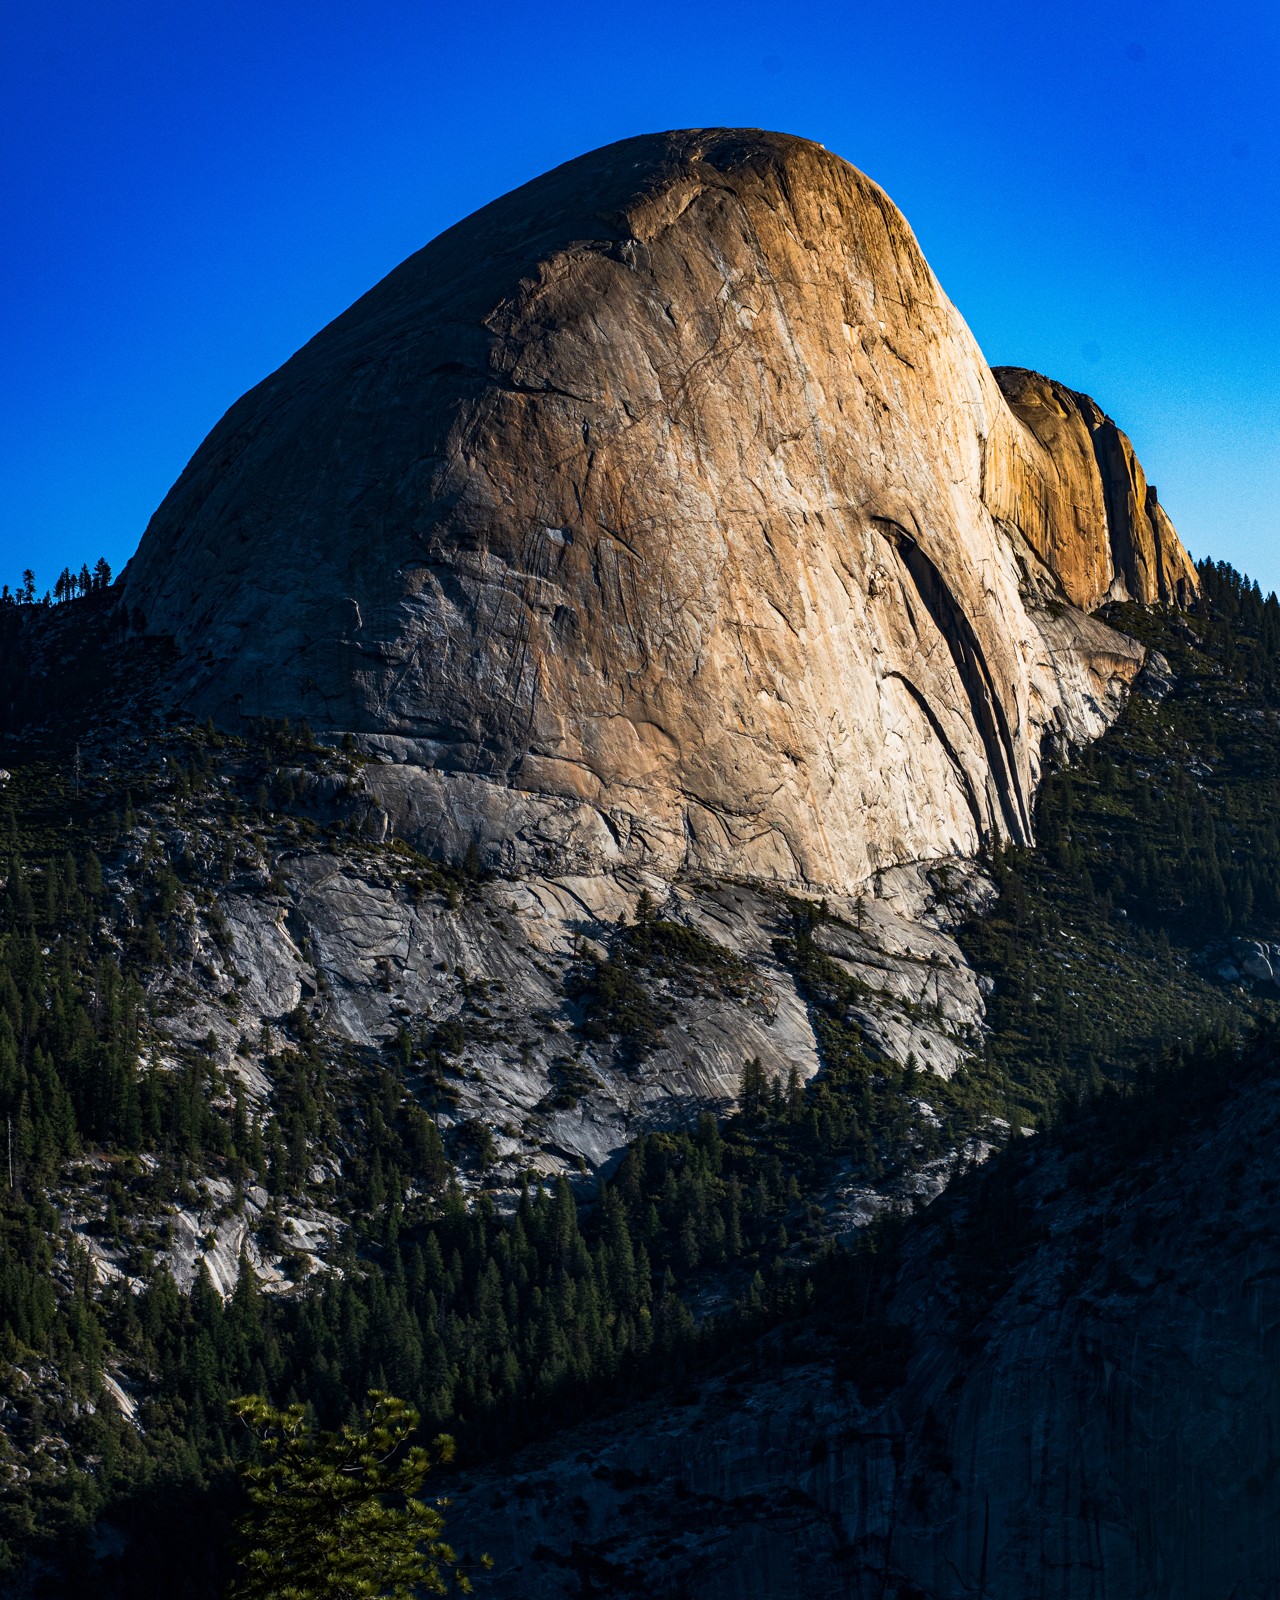
The illuminated face of the granite stands beside a much darker section. That boundary reveals curvature and volume. Side light often describes form more clearly than evenly distributed illumination, but it can also exaggerate surface contrast. Look for where the light changes, not just where it is strongest. Try placing the boundary off-center so the lit and unlit areas have distinct roles. During editing, compare a restrained contrast adjustment with a stronger one at full size. If shadow edges turn brittle or the stone appears cut out, reduce the adjustment. The goal is believable volume, not the largest possible difference between black and white.
4. Let a silhouette be a silhouette
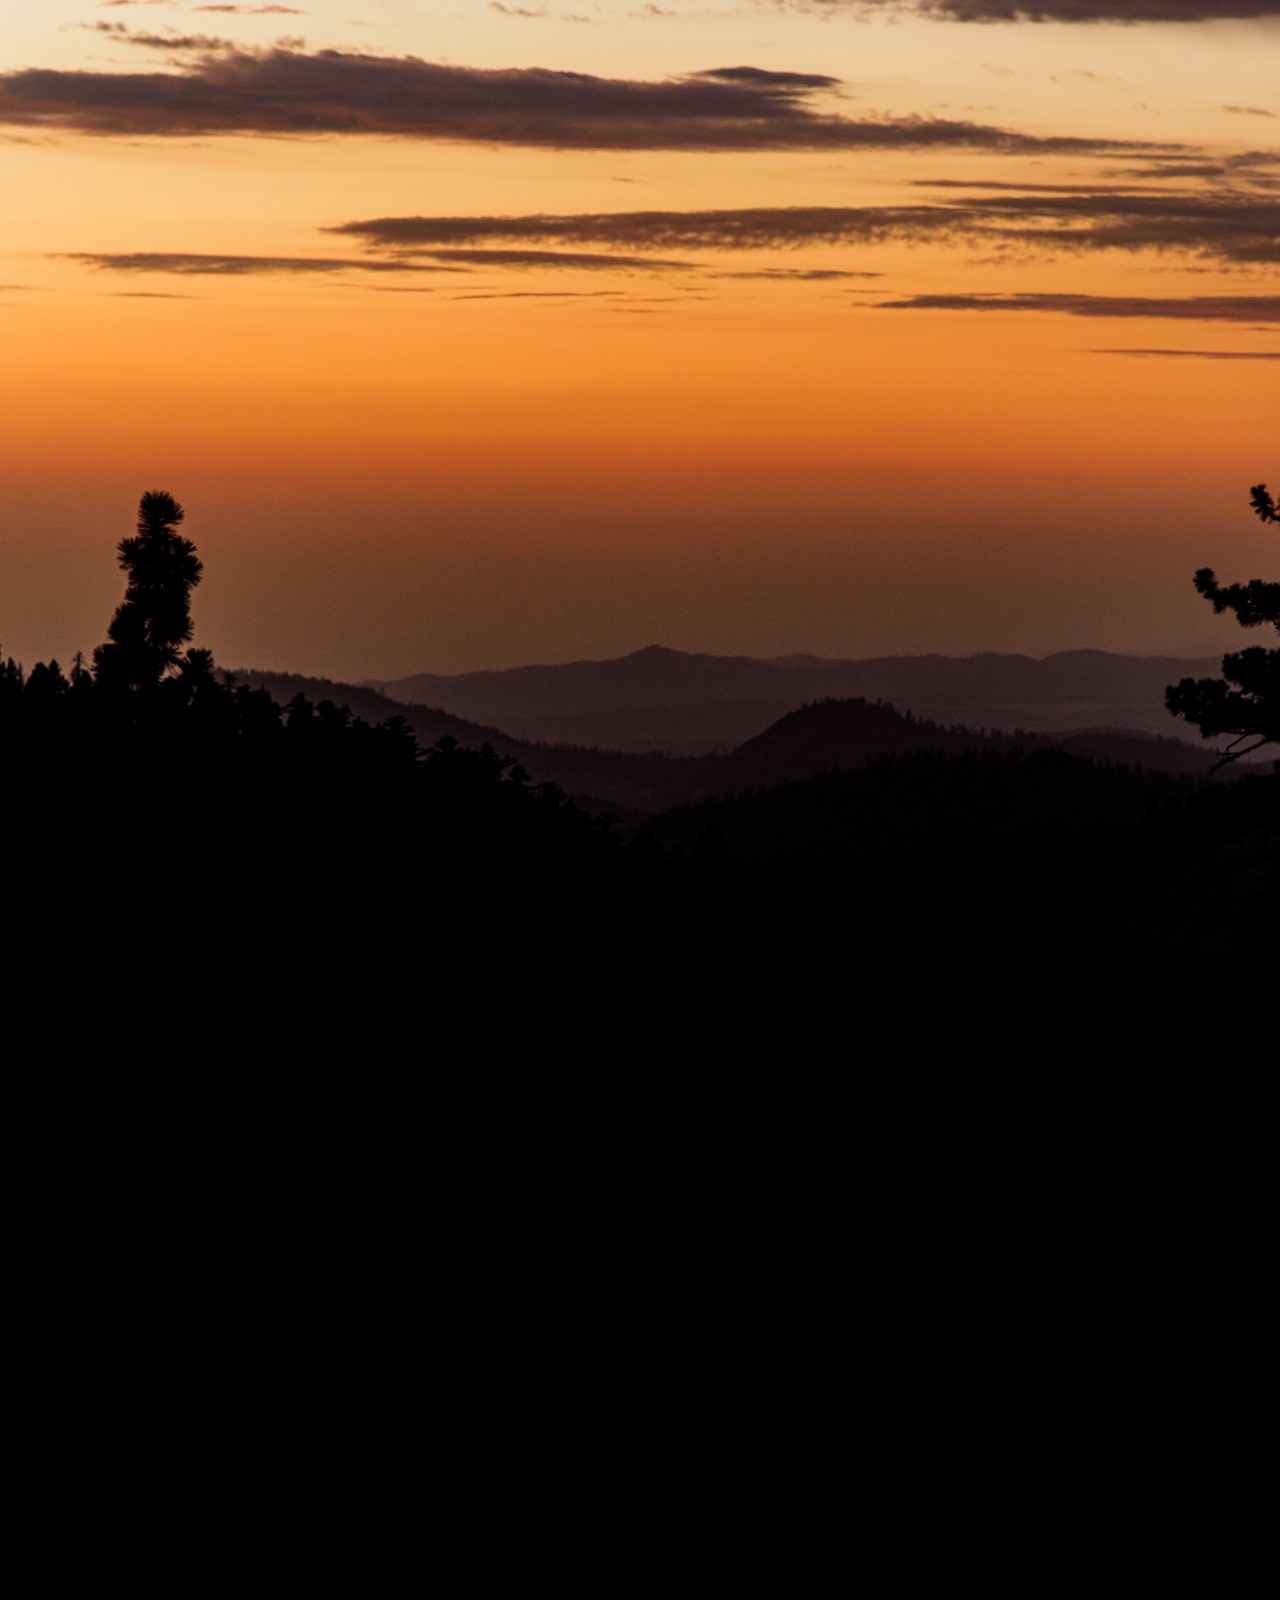
The trees and distant land become simple dark shapes beneath a warm sky. Their value is in their outline, not bark or leaf detail. Compose so important silhouettes separate from one another; an accidental merger can turn several recognizable forms into one confused mass. For a similar scene, expose to retain the sky’s color and inspect the bright horizon. Then ask whether revealing the foreground would add information or merely weaken the graphic shape. In processing, watch for unnatural halos along the horizon after strong shadow or clarity adjustments. A silhouette works when its edges and placement remain intentional, even though interior detail is absent.
5. Use warm and cool areas together
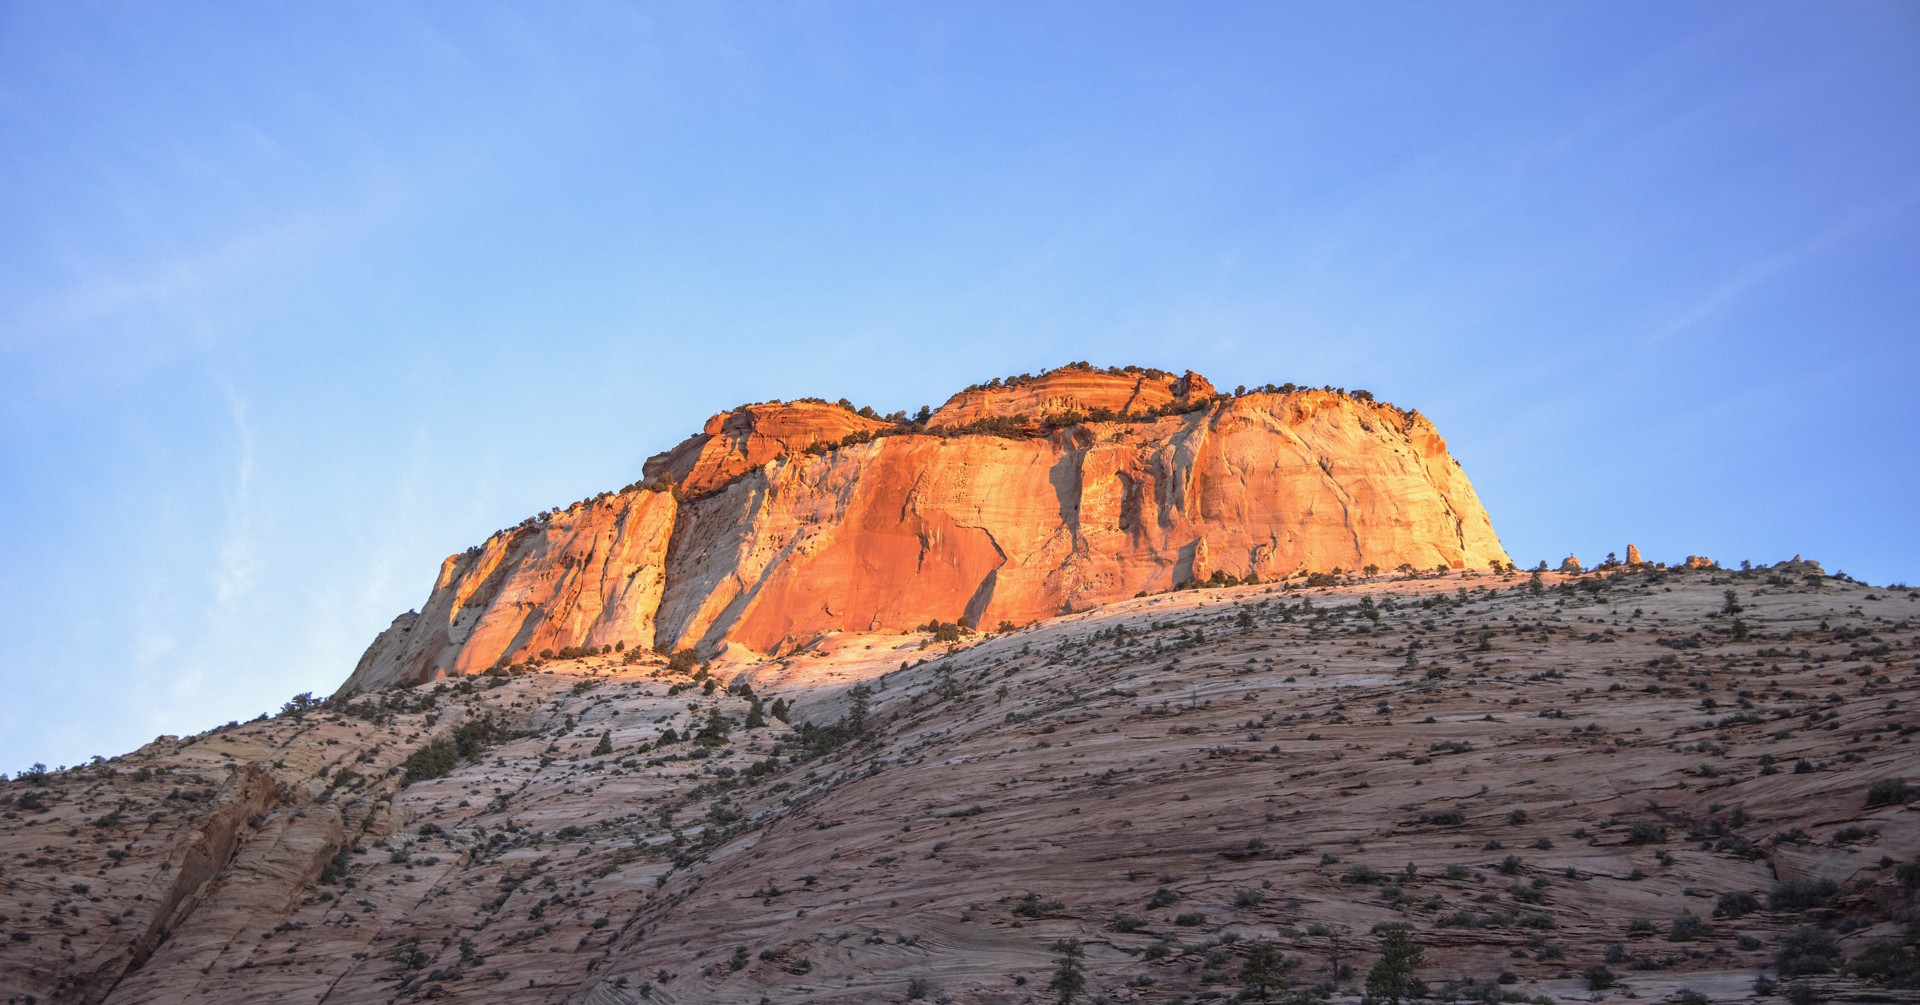
The glowing upper rock is surrounded by less illuminated stone and blue sky. Its warmth is more noticeable because the rest of the frame is cooler. Resist warming the entire photograph until every surface takes on the same orange cast. Start with a white balance that keeps neutral areas plausible, then judge the relationship between the warm highlight and cooler surroundings. Practice making two versions: one with a global warm shift and one with a smaller adjustment confined to the relevant tones. Compare them after looking away from the screen. The stronger photograph often preserves variation rather than applying the same color treatment everywhere.
6. Work with shade instead of waiting it out
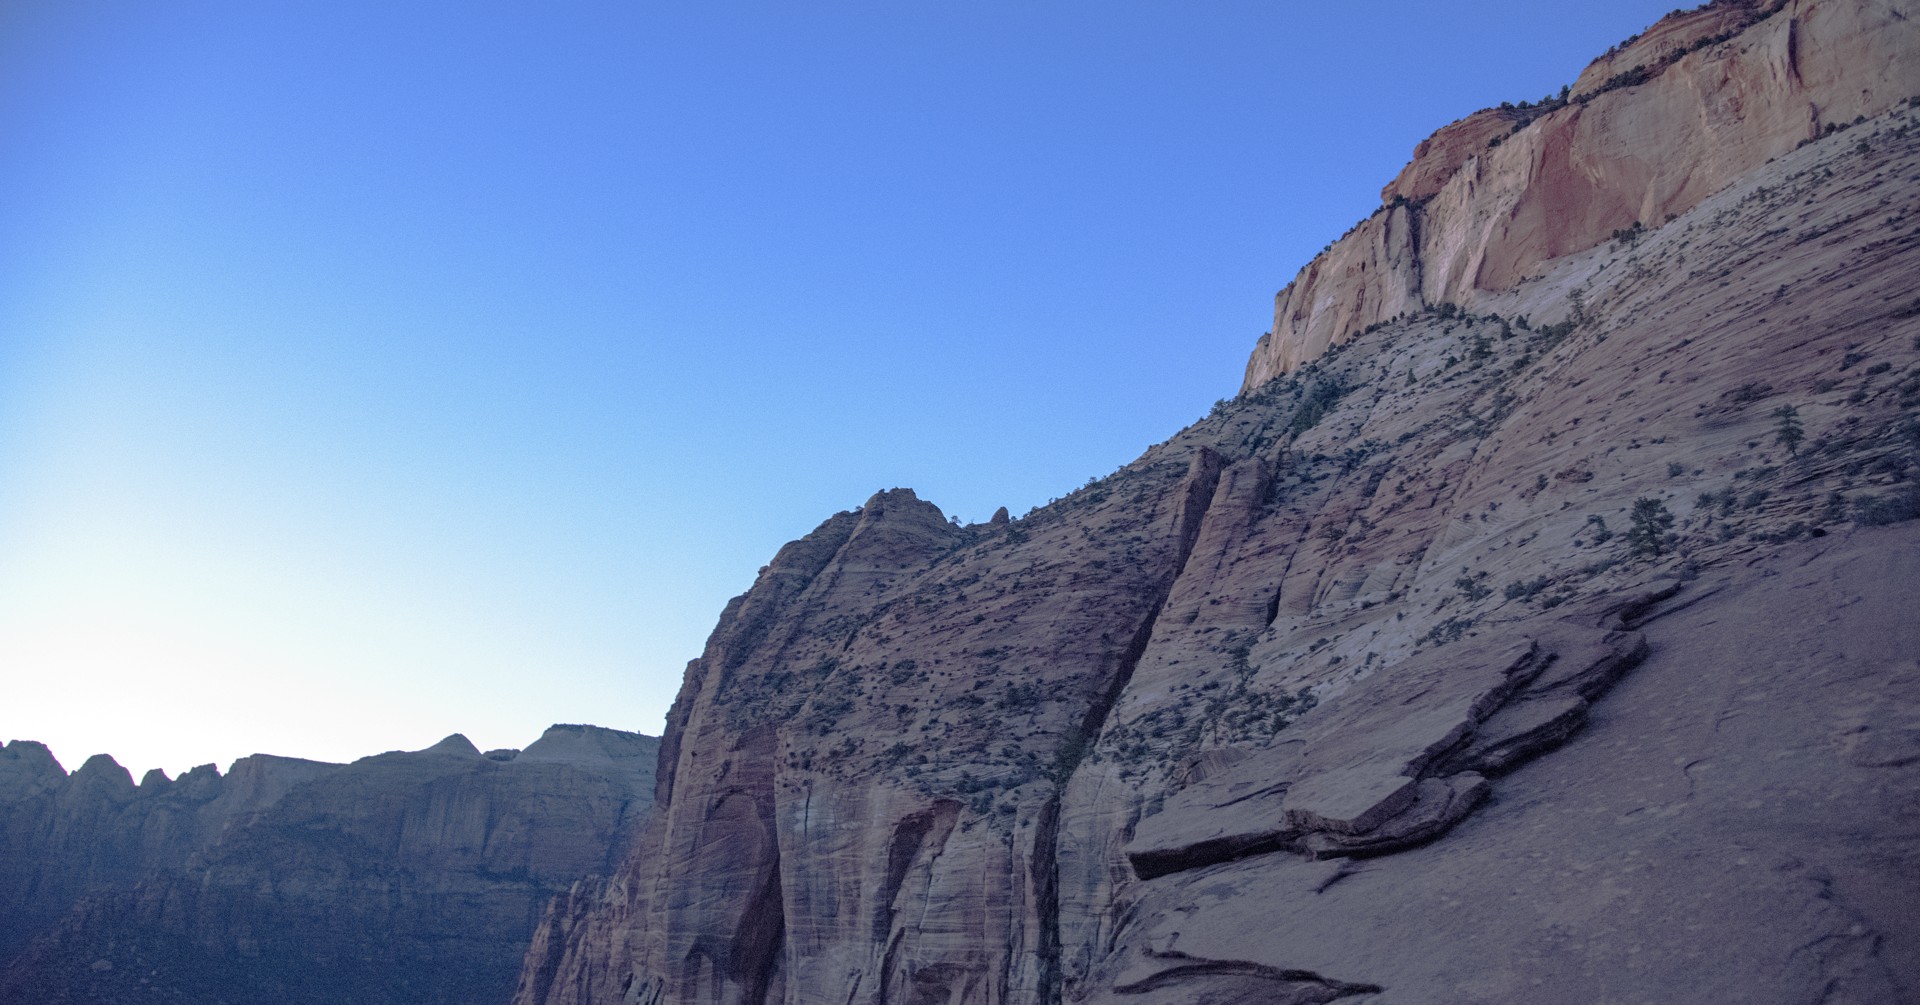
Here the pale wall remains readable without the fiery color seen in the previous image. Shade can reveal subtle layers, fine lines, and transitions that direct sun might overwhelm. Find a composition that relies on those qualities. In the field, check that the bright sky is not taking attention from the shaded subject; changing the camera angle or tightening the frame may help more than processing. A blue cast in shade is not automatically an error, but an excessive correction toward warmth can erase the sense of cool ambient light. Practice a neutral interpretation and a slightly cooler one, keeping both believable.
7. Make the brightest strip earn its place
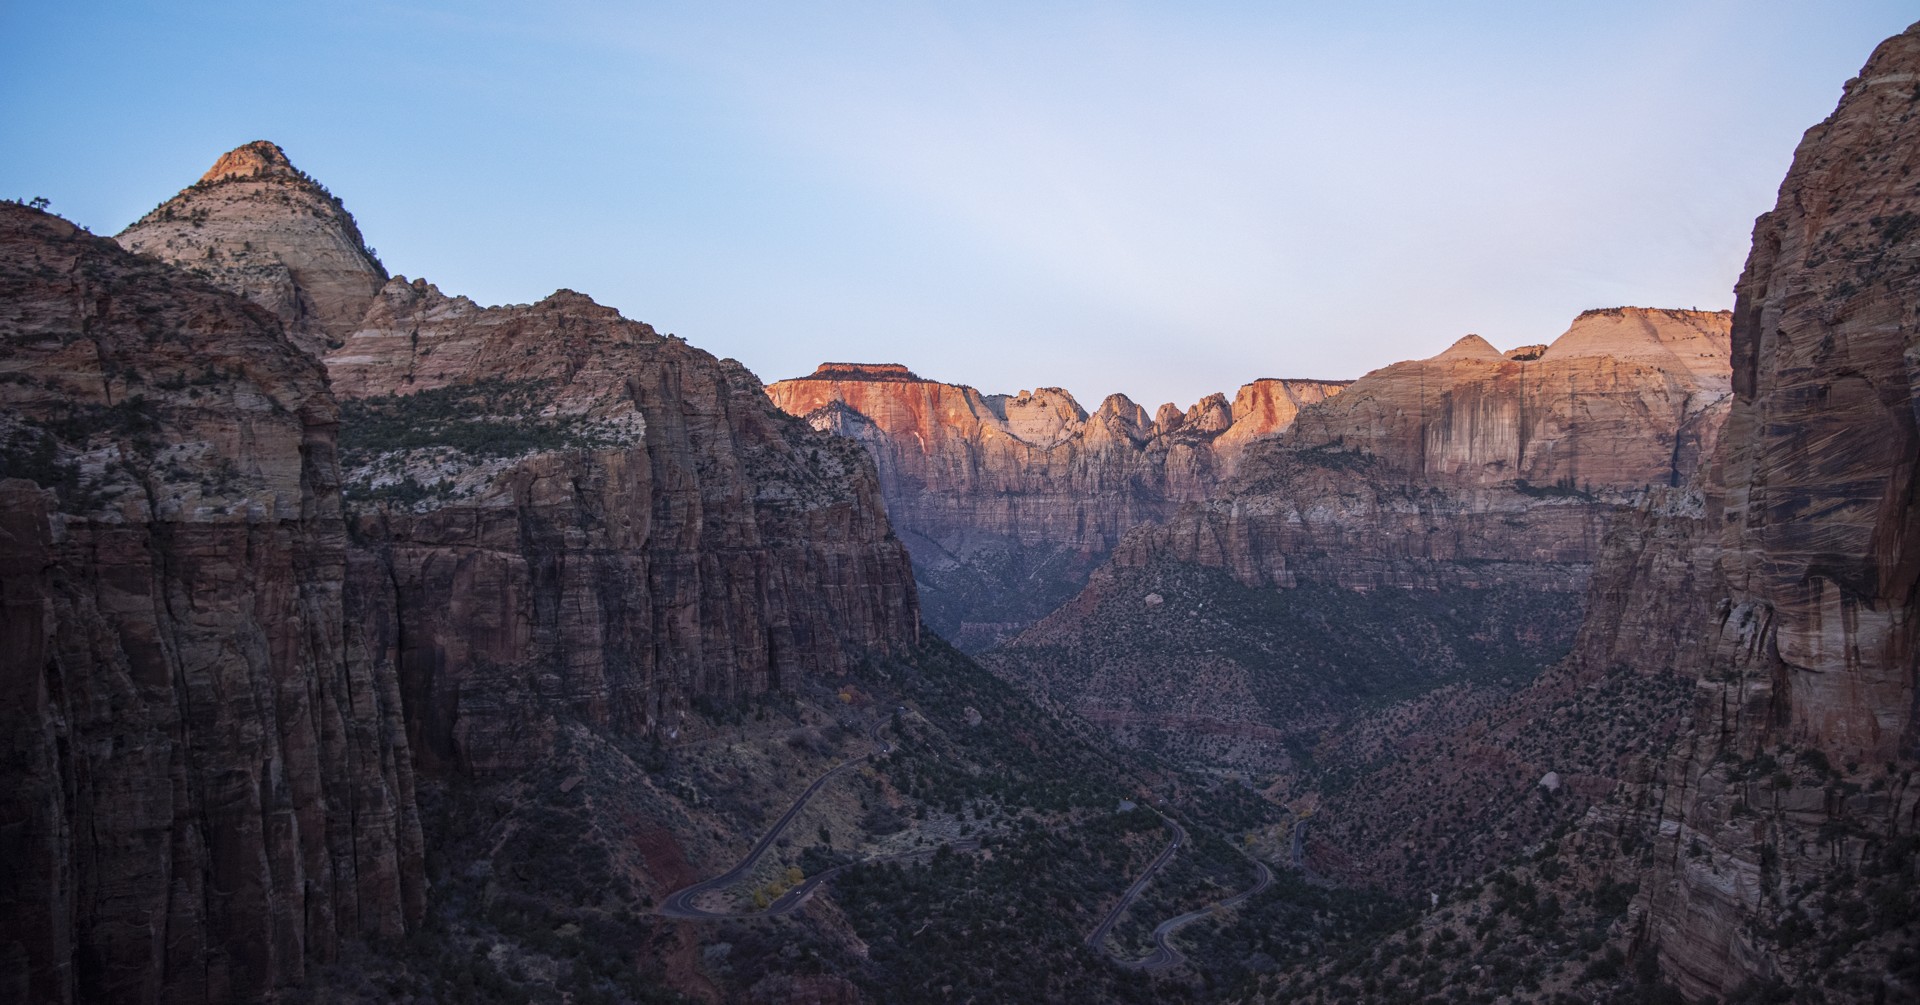
A narrow band of warm light runs above the darker canyon. Because viewers notice brightness quickly, that strip can organize the whole photograph or pull attention out of it. Follow it with your eyes: does it lead into the scene, or end abruptly at an awkward edge? Reframe before assuming exposure will solve a composition problem. When editing, use a gentle local adjustment if necessary, checking that the transition remains natural. Avoid turning the dark canyon into a uniformly bright surface. Its quieter tones provide context. Practice describing the photograph in one sentence without naming a landmark: that often reveals whether the light has become a coherent subject.
8. Evaluate the photograph after the glow is gone
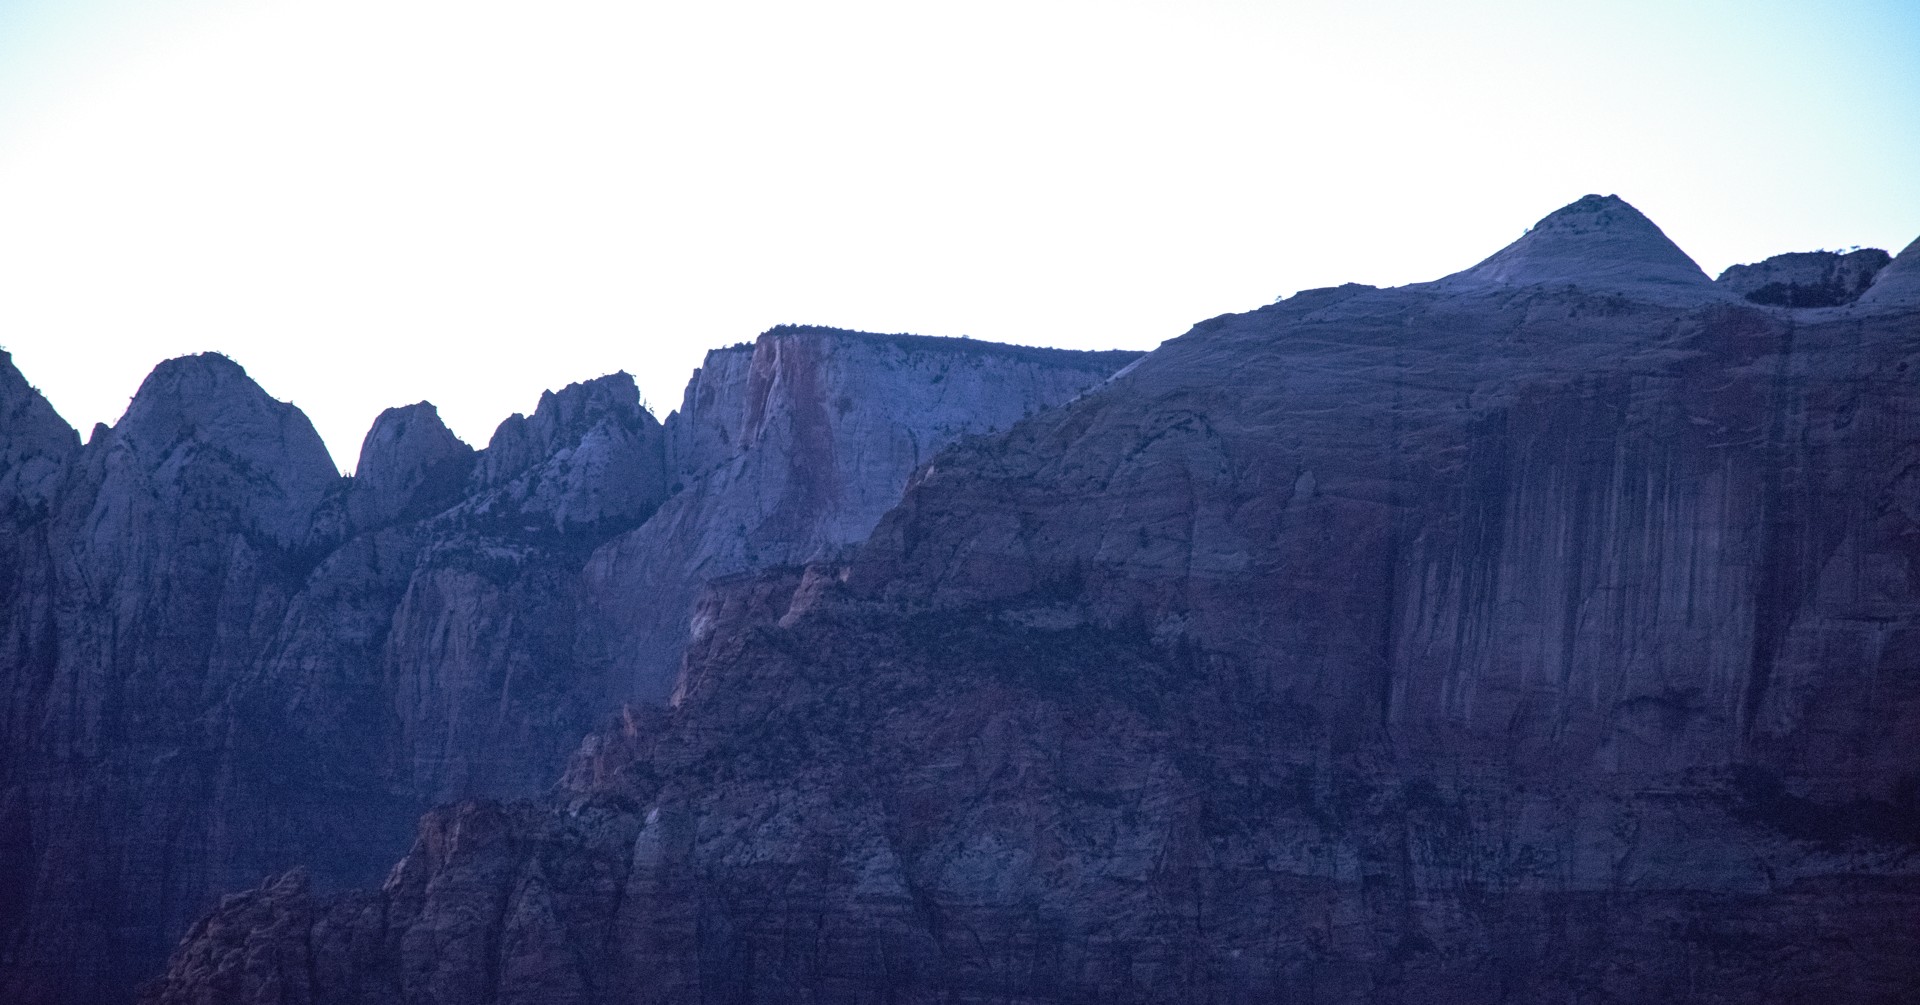
This cooler, darker view relies on the skyline and layered rock rather than a brilliant highlight. It is a useful final test: can the composition survive without dramatic color? Review your sequence and select one image for light, one for shape, and one for atmosphere. For each, write down the intended brightest area, the darkest area that still needs detail, and the color relationship worth protecting. Then edit once with those priorities, rather than repeatedly pushing every slider. Compare at thumbnail size for visual hierarchy and at full size for artifacts. A successful result does not need to reveal every surface equally.
Practice and review
Practice assignment: photograph one scene under two different lighting conditions without changing your position unsafely. Record what changed in direction, contrast, and color. Make two finished images with different priorities, then explain why the exposure and edit serve each one. Judge success by preserved important highlights, intentional shadows, believable color, and a clear visual subject.