Water in motion: flowing falls and breaking waves
Choose how water feels in a photograph: flowing, textured, or suspended in the air.
Choose how water feels in a photograph: flowing, textured, or suspended in the air.
Begin with the texture you want
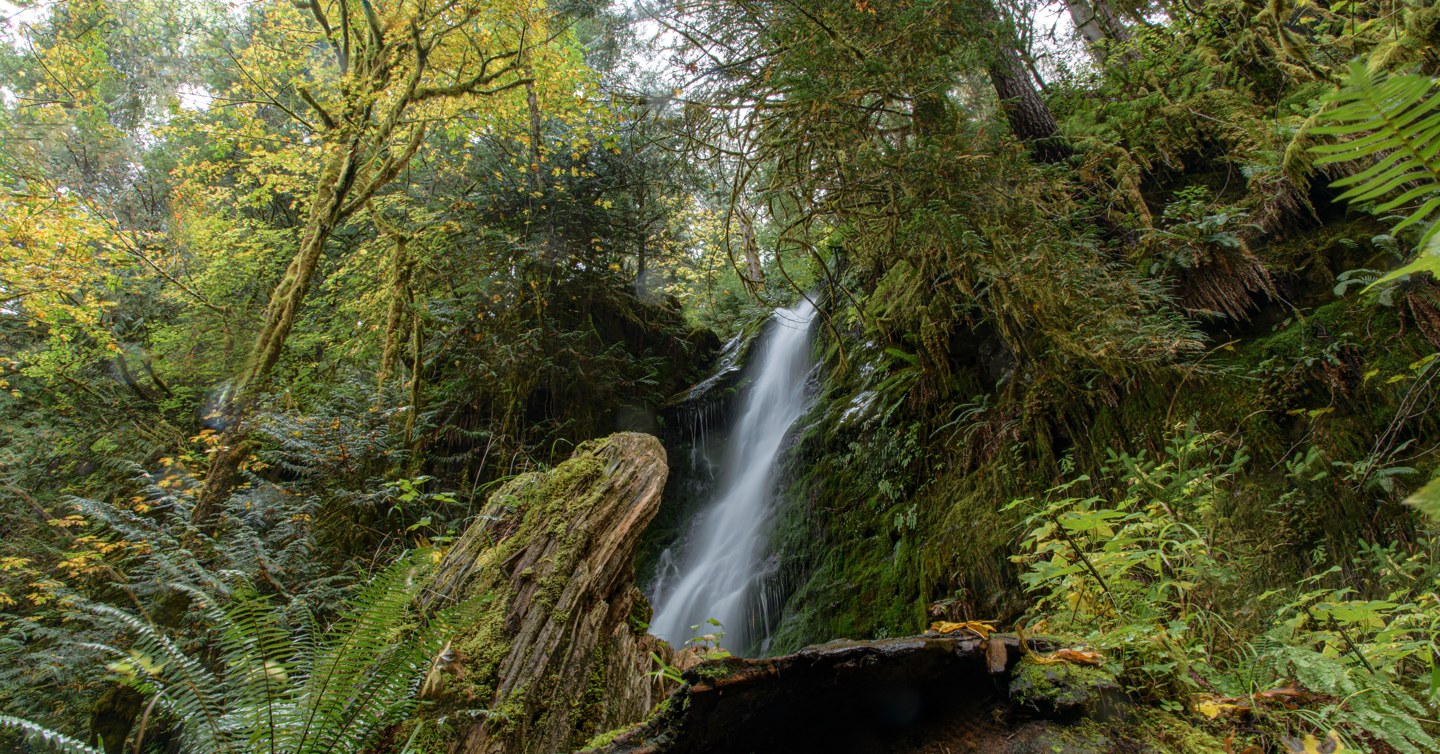
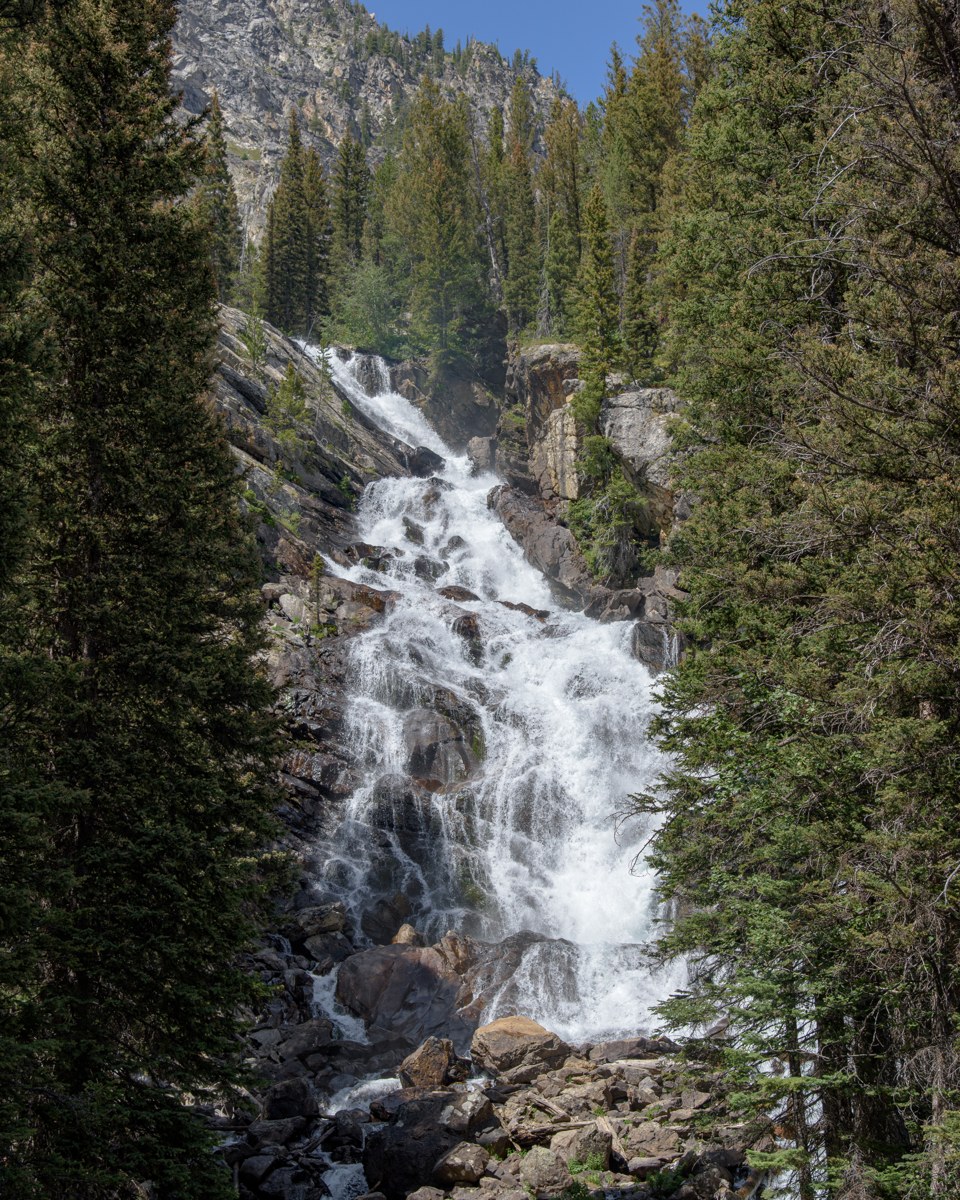
Before choosing a shutter speed, decide what should draw attention: a smooth ribbon of water, individual droplets, or the shape of the whole waterfall. In the forest waterfall photograph, the greenery surrounds a narrow stream of bright water. That relationship offers a useful starting point: keep the setting readable while deciding how much movement you want the water to show. The photographs in this lesson are visual examples; no original exposure settings are assumed.
Time the wave, then check the frame
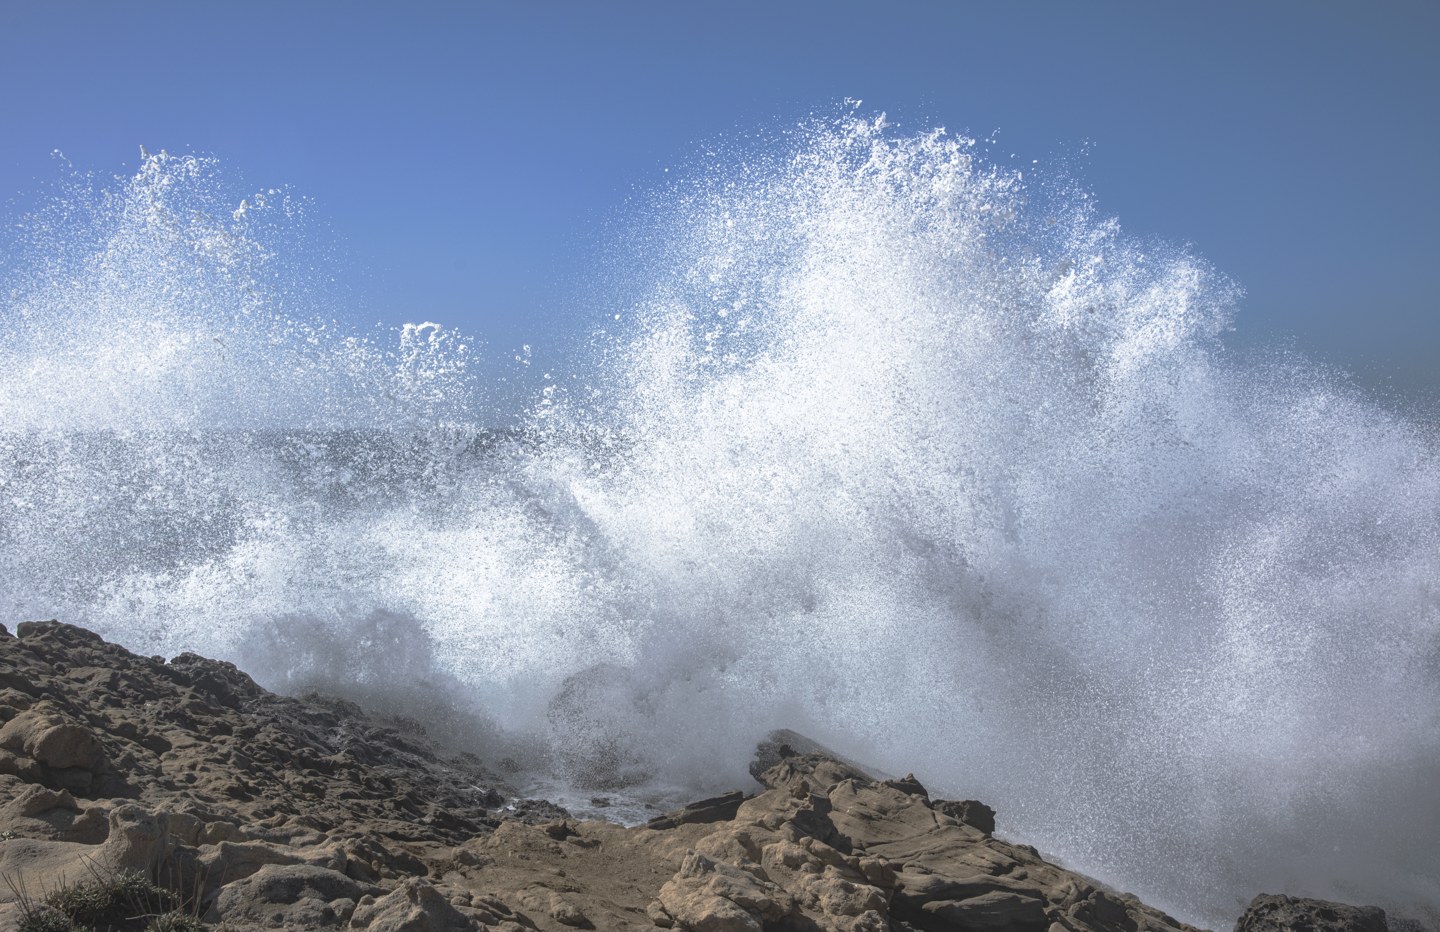
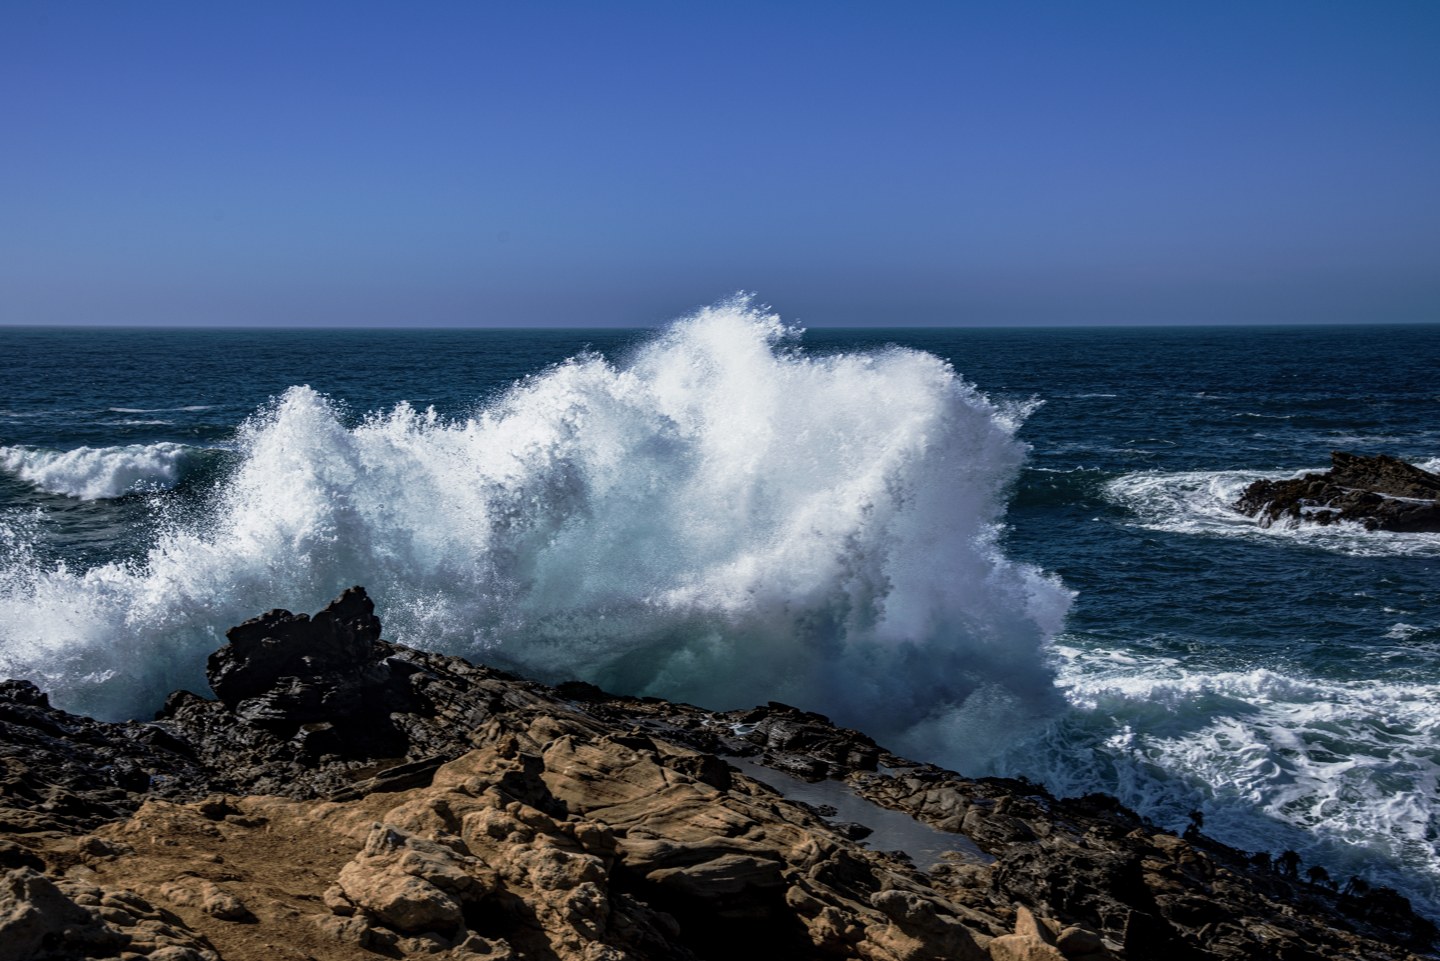
A breaking wave changes shape from moment to moment. Watch several waves before photographing: where does the crest rise, and where does it strike the rock? A shorter exposure can preserve more definition in the spray, while a longer exposure blends movement. Timing still matters at either shutter speed. Leave space above the impact so the spray does not meet the edge of the frame. Work from a dry, stable position well away from the reach of waves.
Give broad cascades a clear route
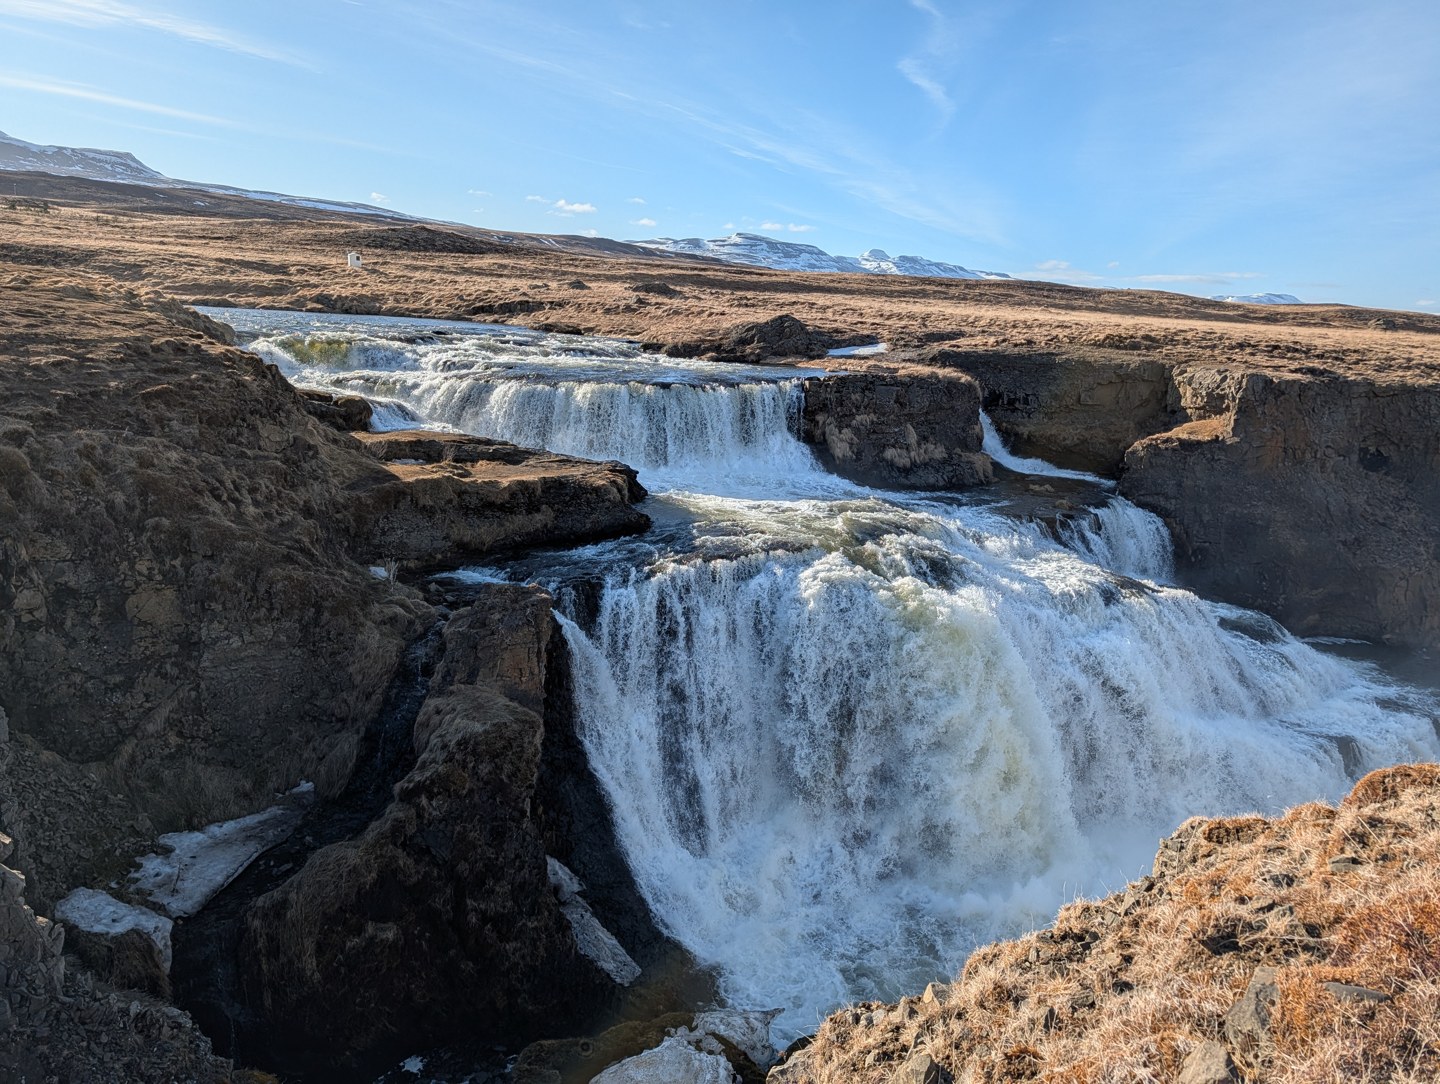
When water spreads across several ledges, the composition can become a collection of competing white patches. In the broad cascade image, compare the upper shelf with the fall nearest the camera. Decide which area should lead, then adjust the viewpoint or framing to support it. Watch bright water when reviewing exposure: once important highlights are completely clipped, editing cannot restore their original texture.
Keep something still
A mountain waterfall contains two kinds of detail: moving water and stationary trees or rocks. A stable camera helps you distinguish intentional water blur from blur caused by camera movement. For a longer exposure, use secure support and release the shutter gently or with a timer. Inspect the stationary edges at high magnification. If they are soft too, solve that problem before judging whether the water has the texture you intended.
Let mist remain mist
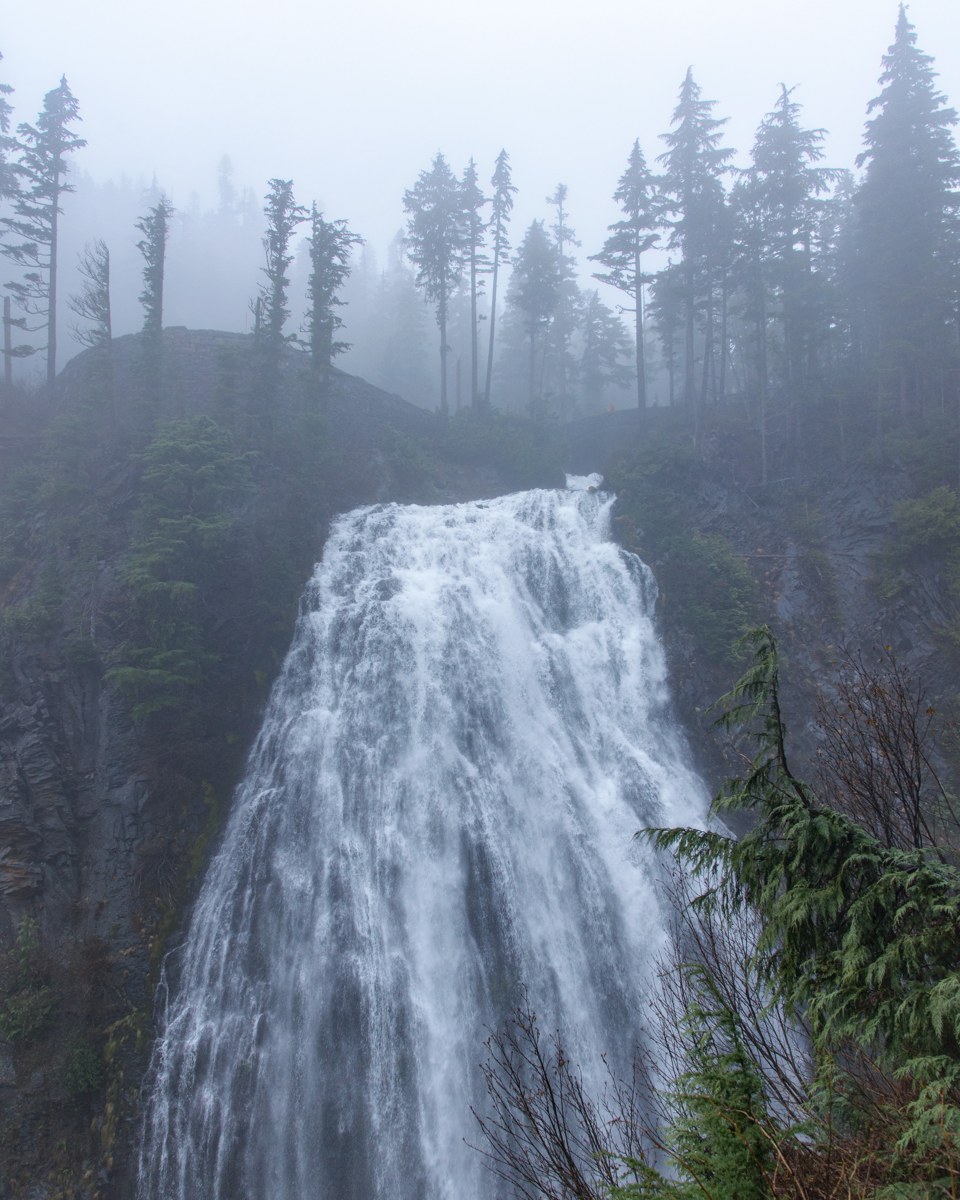
The waterfall in mist has softer surroundings than a clear, close view. Resist the urge to force equal contrast into every part of the scene. Mist can establish distance and mood, and lifting all the shadows or adding strong clarity may weaken that effect. Check for droplets on the lens, which can create unwanted soft spots. Review both the entire picture and a close view so you can separate atmosphere from an accidental smear.
Compare shutter times deliberately
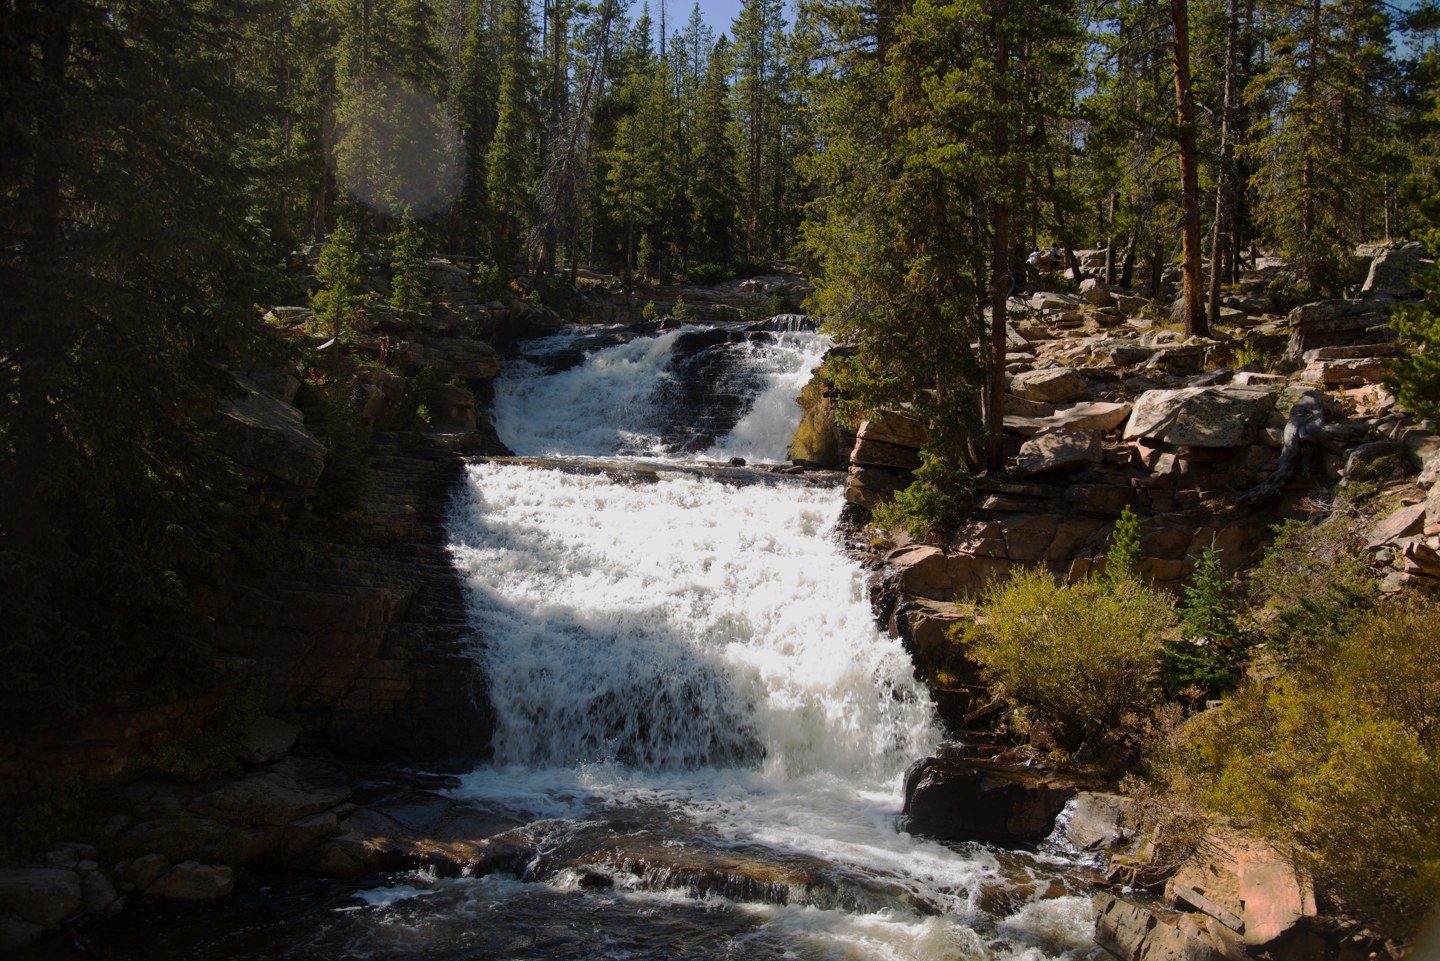
For a river with several steps, make a short series from the same viewpoint. Begin with an exposure that records visible texture, then lengthen the shutter time and compensate with ISO or aperture as appropriate. An ND filter can reduce incoming light when the desired longer exposure would otherwise be too bright. Avoid changing the composition between tests. This makes the difference in water texture easier to judge.
Manage bright water and darker rock
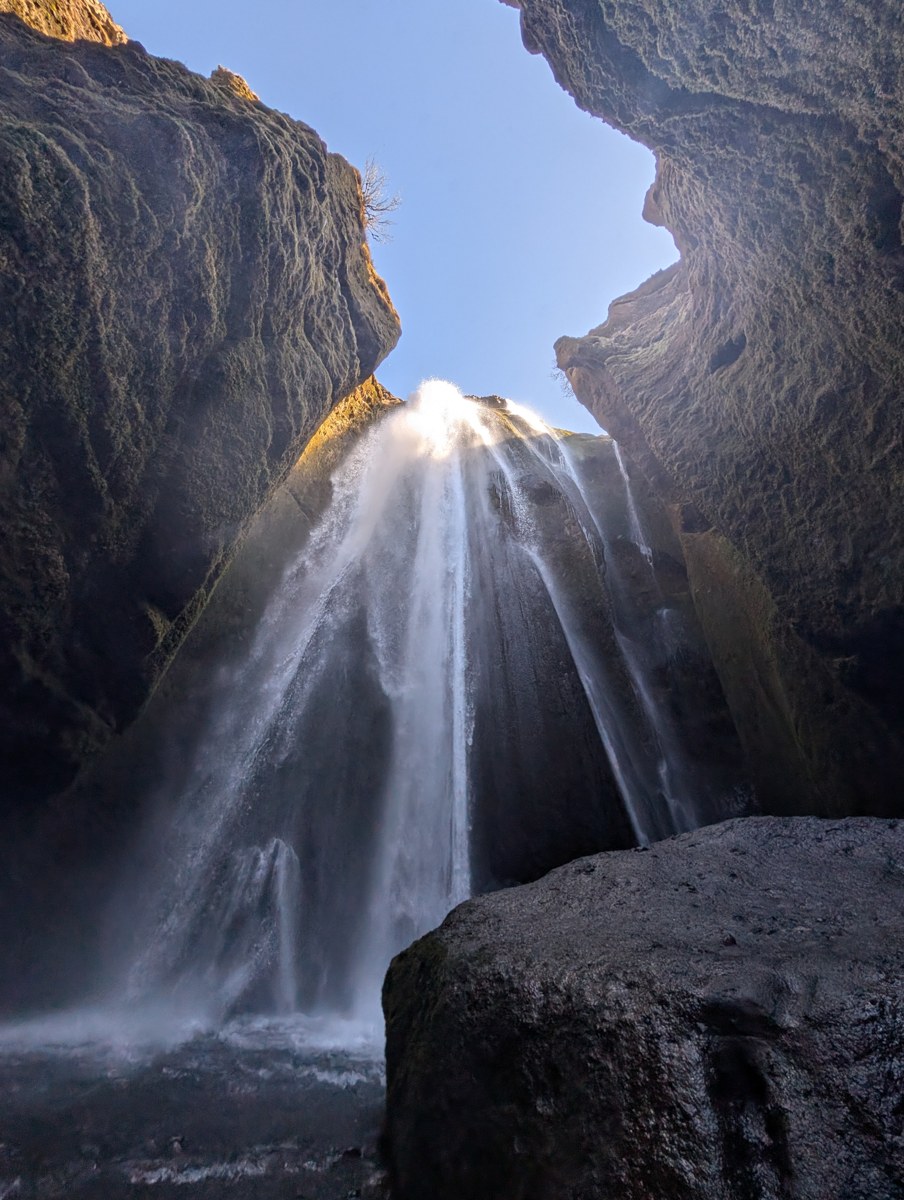
A waterfall seen between dark walls can exceed the range a single exposure records comfortably. Decide which bright areas need detail, then check the histogram and highlight warnings. Let some surrounding rock remain dark if it supports the scene. Do not assume that combining different exposures of moving water will be seamless: changing flow can produce mismatched edges. A carefully chosen single frame is often easier to keep convincing.
Practice: select the frame that feels right
Compare the broad breaking wave with the tighter spray photograph. One emphasizes the wave as a shape; the other makes the impact itself more prominent. For your own practice, select three frames with visibly different movement and explain what each communicates. Judge focus, water texture, timing, and framing separately. Keep the image that best expresses the scene rather than automatically choosing the longest exposure or the sharpest droplets.